
How to Build a Modern Railing System?
Railing systems have been around for decades and are used in both residential and commercial buildings. They provide safety and peace of mind when it comes to navigating stairs, ramps, or other elevated surfaces. However, a traditional railing system is not the only option available today. With an increasing focus on modern design aesthetics, more homeowners are opting for a modern railing system that can be customized to suit their specific needs.
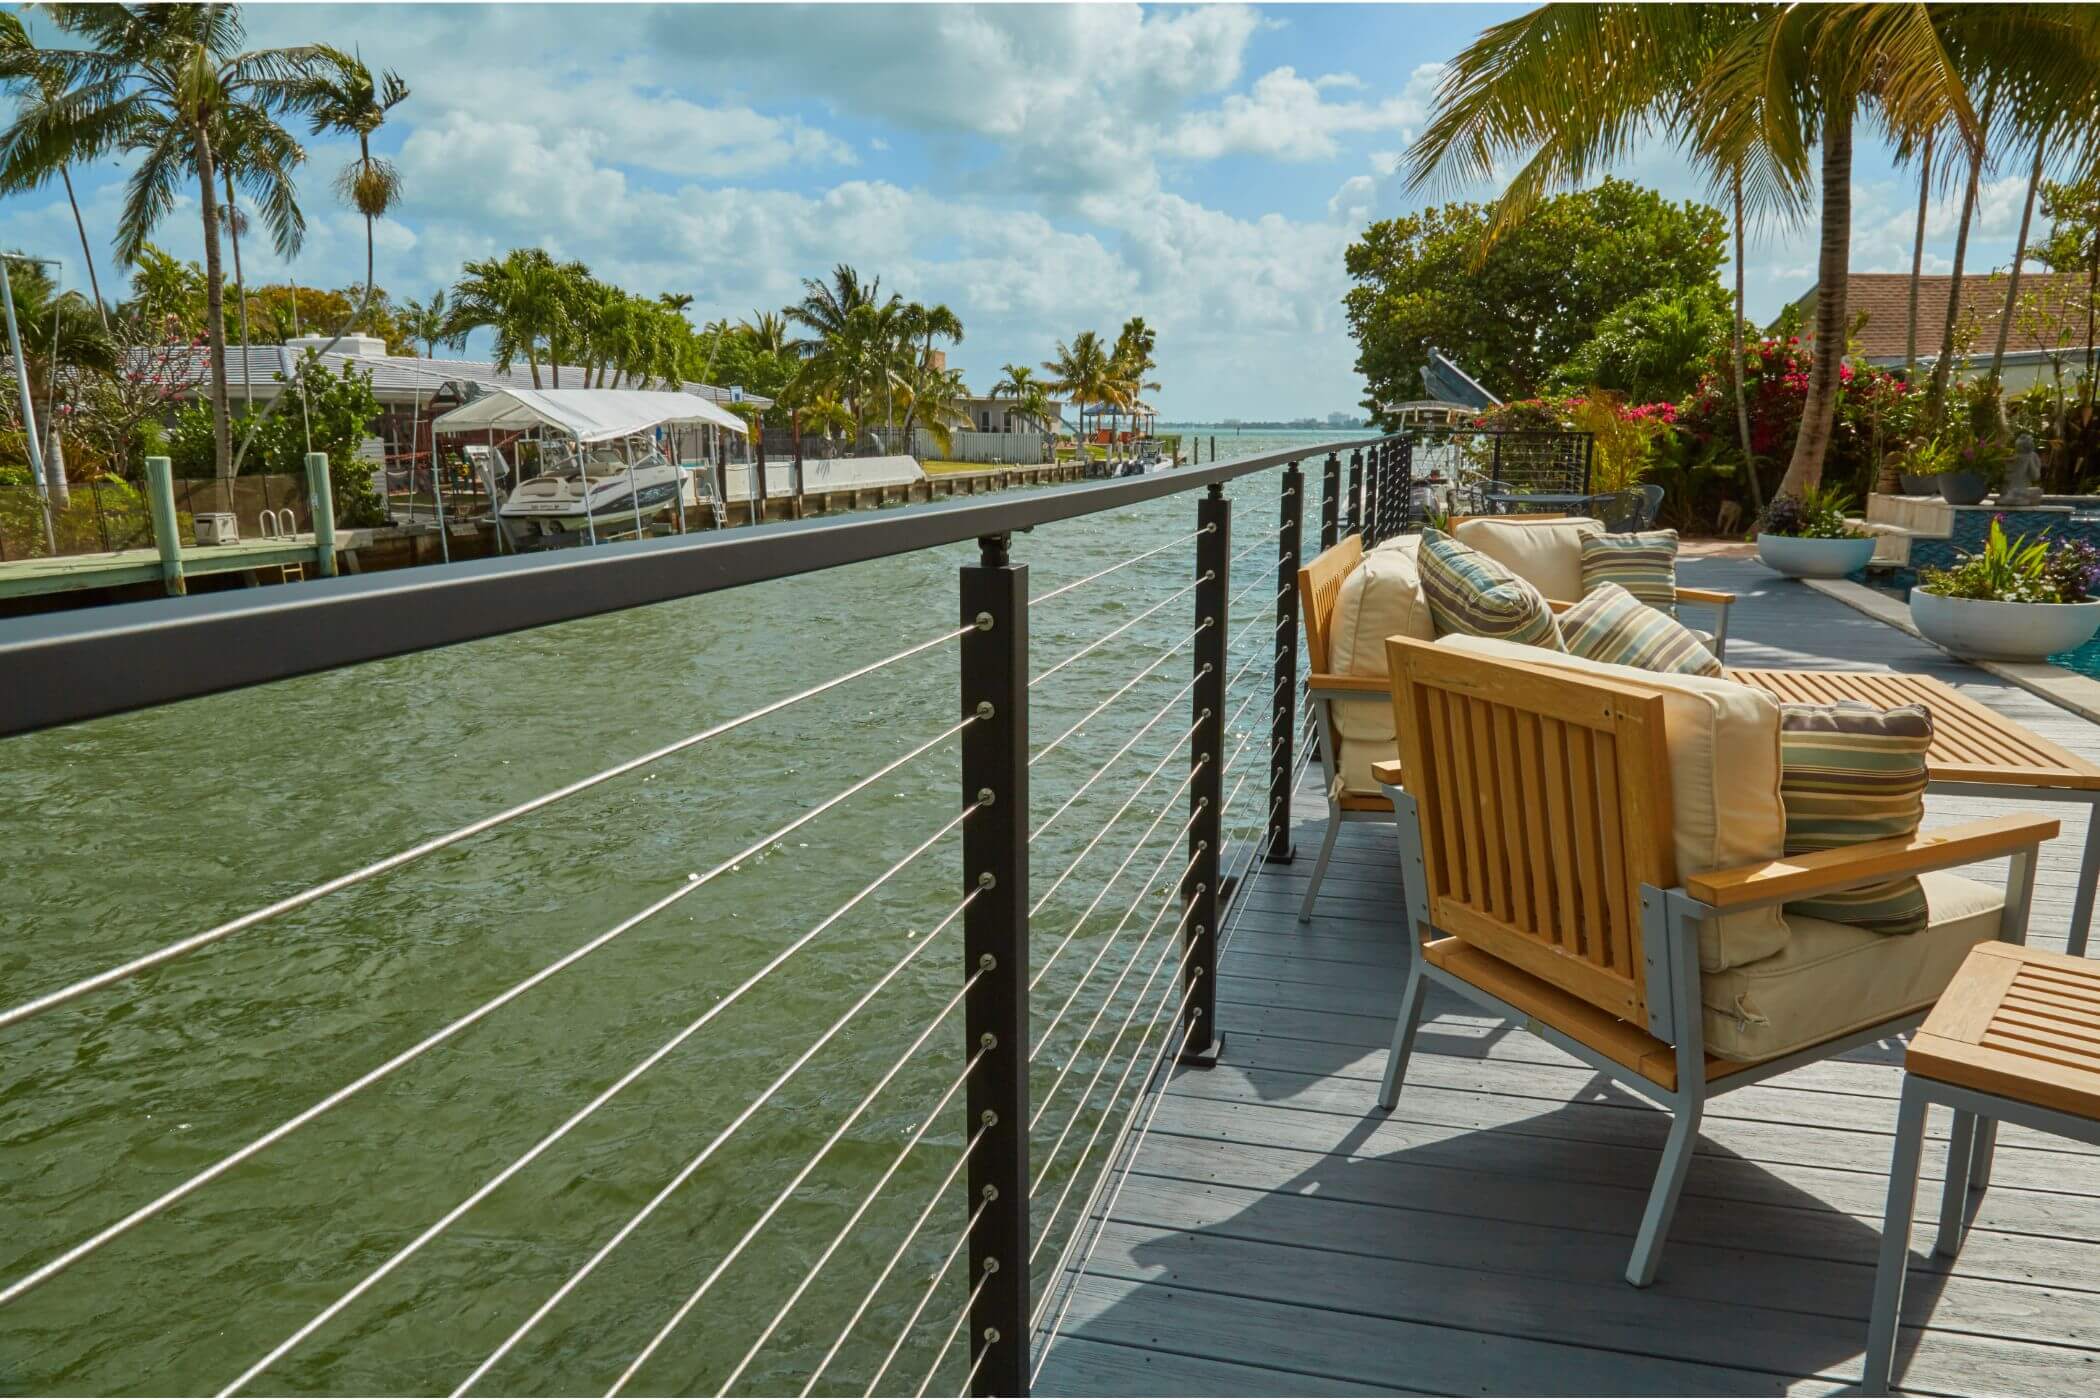
Cable railing systems are an excellent option for homeowners looking to create a modern aesthetic in their home. They're also very easy to install, which means that you can take the time to do it right yourself, without hiring someone else.
This post will walk you through how to build a cable railing system from beginning to end, and answer any questions that arise along the way!
Cable Railing System Components
The first step in building a modern railing system is to understand what each component does and how it works together with the others. The components of your cable railing kit should be:
Posts - These hold up the railings, so they need to be strong and sturdy enough to support them. They can be mounted to the floor or baseboard of your home.
Cable - This attaches between posts and provides stability along the length of the railing system. Click here to check out our cable railing post
Cable Railing Hardware - There are several different types, including wire rope clips, cable thimbles, turnbuckles (also known as barrel adjusters), swages (for attaching hardware to cable), and railing connectors. Cable railing hardware is needed for both installation and ongoing maintenance of your system.
Cable Railing Kit - Your cable railing kit should include the posts, cable, cable railing hardware, and fasteners (such as screws or bolts) in order to attach it all together. It may also include any additional parts that are specific to your design needs, such as adapters or mounting brackets for connecting to the underside of your floor.
Cable Railing Post Installation

Now that you know what all the components are, let's talk about how they work together in harmony!
Installing cable railing comes down to three things:
Attaching it securely in place at either end (posts)
Filling up any gaps with additional cable and/or hardware (cable)
And making sure it stays in place with a little bit of help from the kit components (hardware).
Let's expand on that:
First, attach your posts to the floor or baseboard of your home using wood screws. Make sure that you go deep enough so that they're secure and won't wobble out of place.
Next, position your cable along the length of each post so that it's firm but not too tight. You should always be able to fit a finger between the cable and the post.
Then, attach your cable railing hardware using either bolts or screws, depending on what your cable railing kit came with.
Finally, make sure that all of these components are as tight as possible by pulling gently in opposite directions on both ends until they are snug against one another. Cable railing posts are surprisingly easy to install, and you may be surprised by how quickly it all comes together!
Cable Railing Post FAQs
Q: How do I attach my system to a wall?
A: Every cable railing kit is different, but in general, you'll need to attach it using the cable railing hardware. You may also want additional screws or bolts depending on your needs and how heavy/unstable the wall is. Ensure that whatever fasteners you use are compatible with both surfaces (wall + cable railing system).
Q: Can I change my post height?
A: Yes, you can! Cable railing posts are modular and come in various heights. If you want to change the height of your system, all that's required is adding or removing cable/hardware as necessary.
Q: What if I have a curved corner?
A: In this case, you'll need additional hardware (usually cable clips) to attach the cables to the corner.
Q: What if I have more than one-floor level?
A: Cable railing posts can be installed on either side of a wall, so you'll just need to choose where they go based on which side is most convenient for your needs (and drill holes accordingly!). If there's only one post used in each segment of railing, you'll need to attach fasteners (such as floor brackets) on the underside of your floors at each level.

Cable Railing Post Installation Tips
Cable railing posts can be installed by themselves, but it's generally a good idea to include additional hardware (such as brackets) for extra stability.
Here are some installation tips:
Use concrete screws or ground anchors if necessary; make sure that they can hold the post securely in place without damaging it.
You should only need to attach your posts at one end, since the cables will do most of the weight-bearing.
Your post spacing should be set in advance; make sure that it's wide enough for both cable and fasteners!
Final Thoughts
Do you have more questions about cable railing post installation? Visit us at senmit.com or give us a call! We're happy to help with whatever you need and can provide all the hardware, brackets, fasteners, and mounts for safe and stable cable railing systems from start to finish. Our cable railing hardware is durable, beautiful and affordable.


