Table of Contents
- Introduction
- What Is a Wire Stair Banister?
- Benefits of Wire Cable Banisters
- Key Components
- Planning & Tools Needed
- Step‑by‑Step Installation
- Maintenance & Safety
- Senmit’s Fitting Kit Perks
- Conclusion
- Summary Table
Introduction

Wire stair banisters—often referred to as cable railing—offer an elegant and modern alternative to traditional wood or iron balusters. By utilizing tensioned stainless steel cables between posts, they provide safety without obstructing sightlines. This guide addresses what wire stair banisters are and explains how to install them using marine-grade stainless steel components like the Senmit Threaded Swage Stud and Stemball Swage kit.
What Is a Wire Stair Banister?
A wire stair banister replaces conventional railings with 1/8″ or 3/16″ stainless steel cables threaded horizontally between vertical posts. These cables are tightly tensioned to prevent sagging and comply with building codes ensuring no sphere larger than 4″ can pass through.
Benefits of Wire Cable Banisters
- Unobstructed views: Thin cables maintain visibility.
- Modern aesthetics: Sleek, low-profile industrial look.
- Durability: Marine-grade 316 stainless resists corrosion indoors and outdoors.
- Safety: Code-compliant when installed properly.
- Low maintenance: Simple periodic tensioning and cleaning.
Key Components
- Posts: Wood, steel, or aluminum anchor points spaced ≤48″ apart.
- Top rail: Often solid wood or aluminum, supports cable tension.
- Cable: 1×19 strand stainless steel, typically 1/8″ or 3/16″ in diameter.
- End fittings: Threaded swage stud, stemball, turnbuckles, or tensioning hardware.
- Intermediate posts or spacers: Prevent cable deflection.
Planning & Tools Needed
- Measure post spacing (≤48″ centers), railing height (36"–42").
- Determine cable runs—allow extra for tensioning.
- Required tools: drill, level, tape measure, cable cutter, hydraulic crimper, tension gauge, Allen keys.
Step‑by‑Step Installation
1. Install Posts & Top Rail
- Secure posts vertically and level per code via surface or fascia mount.
- Attach a sturdy top rail to distribute tension forces.
2. Drill Cable Holes or Attach Fittings
- Pre-drill angled holes for stair runs (~¼″).
- Alternatively, install swage studs through post faces or sides.
3. Thread & Swage Cables
- Begin with end post—feed cable through swage stud and crimp with hydraulic tool.
- Run cable through intermediate posts and terminate other end with stemball or turnbuckle.
4. Tension the Cables
- Use tension gauge—start with middle runs and balance outward.
- Tighten fittings to limit deflection (<4″ gap).
5. Trim & Finish
- Cut and swage excess cable.
- Add protective sleeves or hardware covers if needed.
- Clean and inspect alignment and tension.
Maintenance & Safety
- Wipe down stainless surfaces quarterly with mild cleaner.
- Retighten cables or fittings periodically—especially after heavy use.
- Check posts, fittings, and top rail for corrosion or loosening.
Senmit’s Fitting Kit Perks
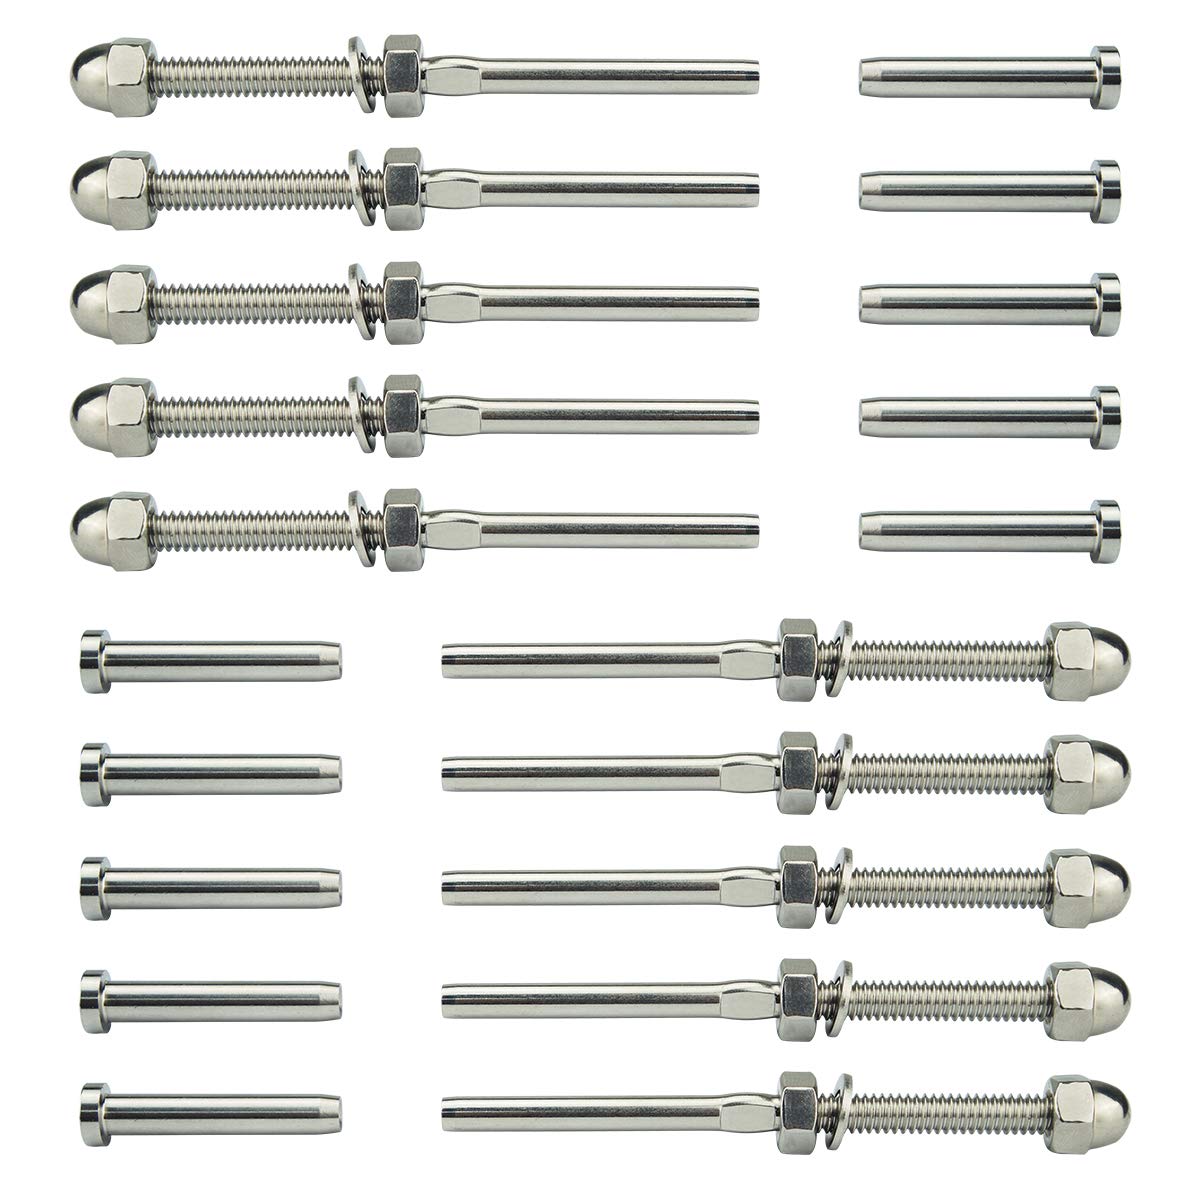
The Senmit Threaded Swage Stud & Stemball Swage Cable Railing Kit includes:
- 10 pcs marine-grade T316 stainless threaded swage studs
- 10 pcs stemball swage fittings
- Hidden install aesthetic—fittings sit flush inside posts.
- Self-tensioning studs eliminate need for external turnbuckles.
- DIY-friendly, cost-effective alternative to pricier swage systems.
Conclusion
Wire stair banisters offer a sleek, safe, and open look for modern homes. With quality materials, proper planning, and precision tools, DIY installation is entirely achievable. Utilizing a complete swage-kit—like Senmit’s marine-grade end fittings—simplifies tensioning and ensures a clean result with minimal visible hardware. The outcome: a long-lasting, code-compliant railing that enhances both aesthetics and safety.
Summary Table
| Step | Description | Senmit Feature |
|---|---|---|
| Posts & Top Rail | Install and level posts ≤48″ apart | Compatible with wood/steel/aluminum posts |
| Drill Holes or Fit Studs | Angle holes or fit swage studs | Flush hidden hardware |
| Thread & Swage | Run cable and crimp fittings | No turnbuckles needed |
| Tension Cables | Use gauge, balance tension | Adjustable swage studs simplify tightening |
| Trim & Clean | Cut cable and wash rails | Marine-grade stainless resists corrosion |
| Inspect Regularly | Retighten and clean as needed | Low-maintenance system |


